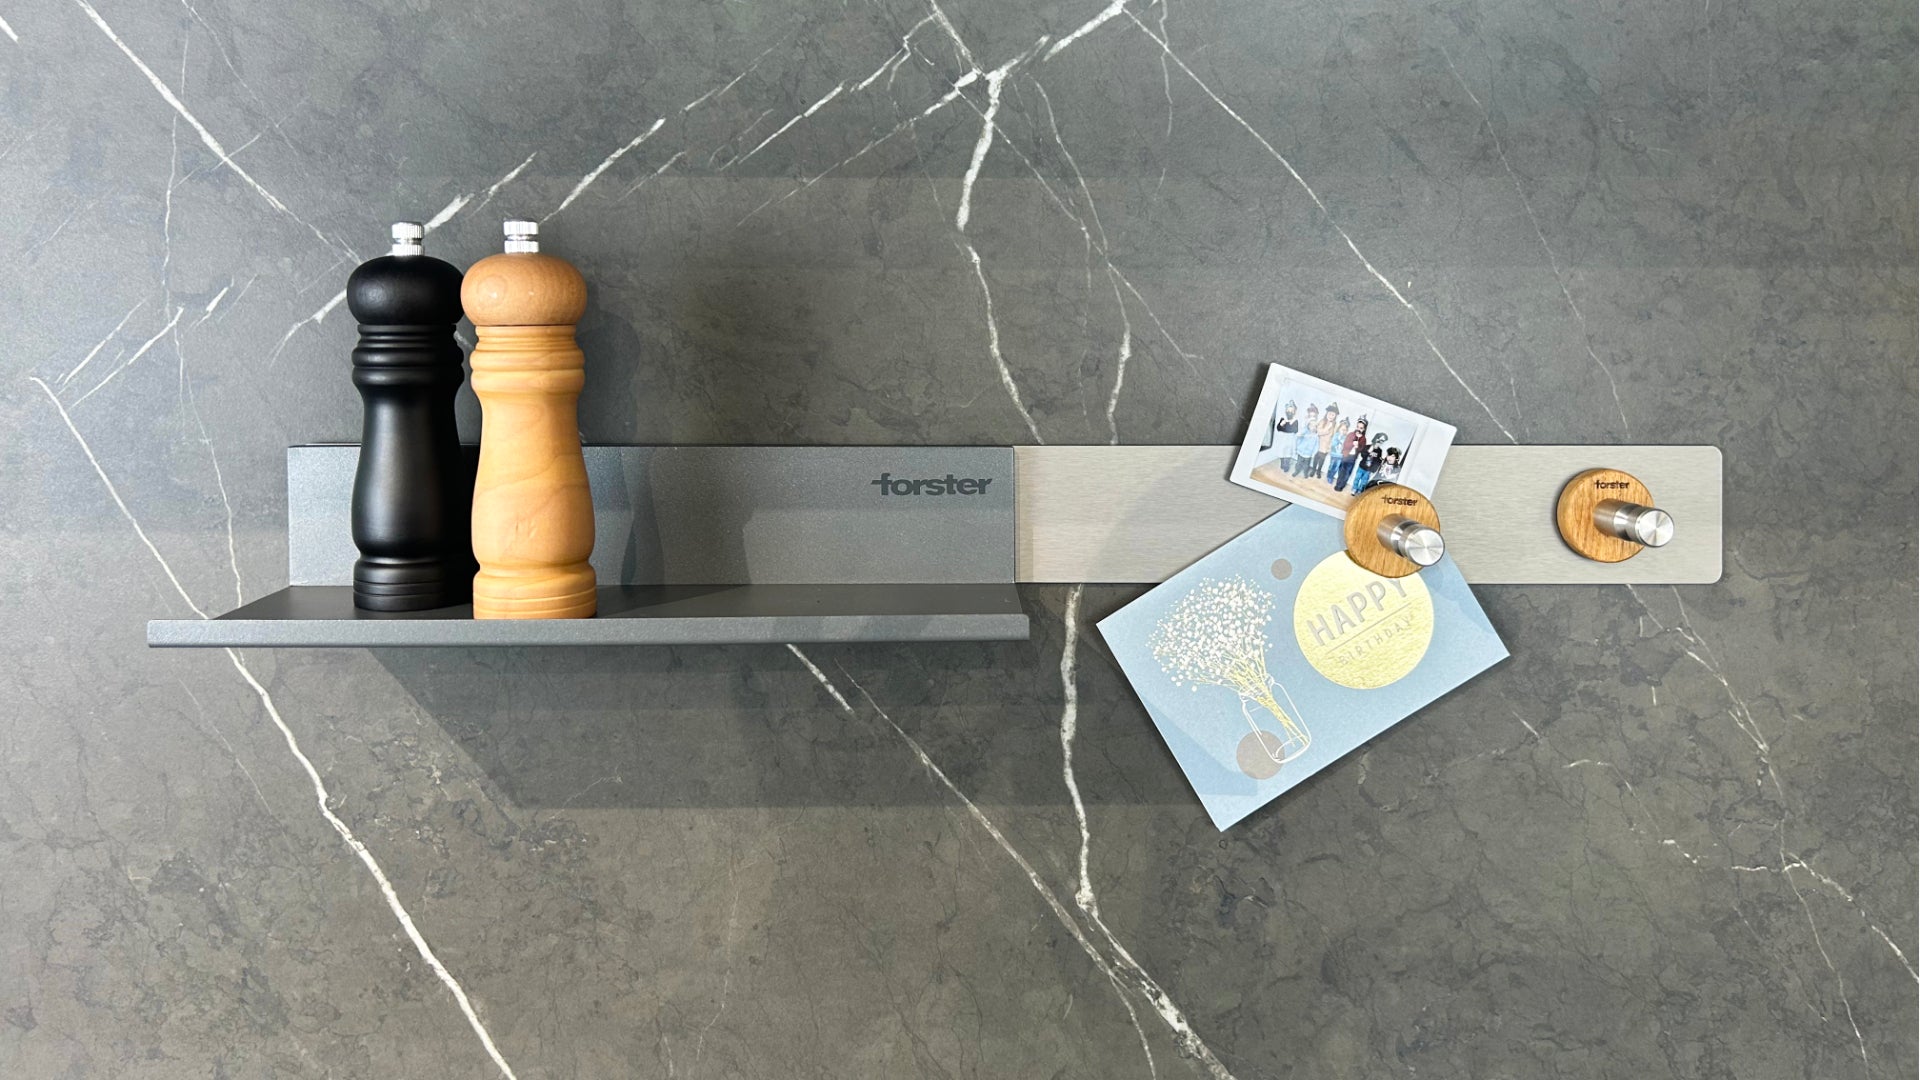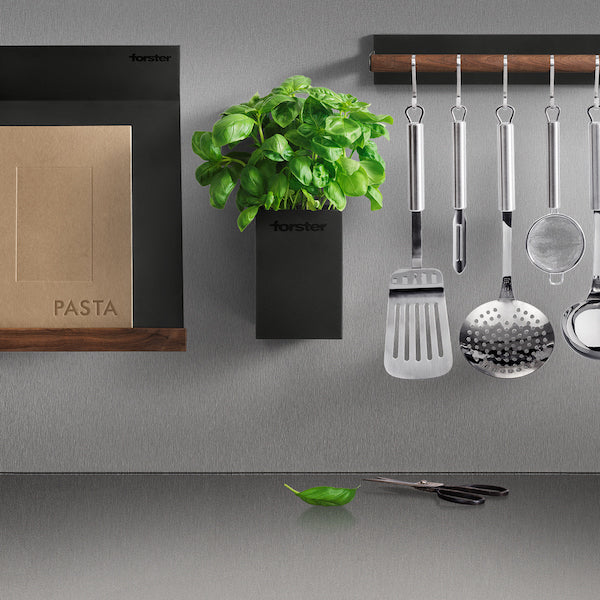
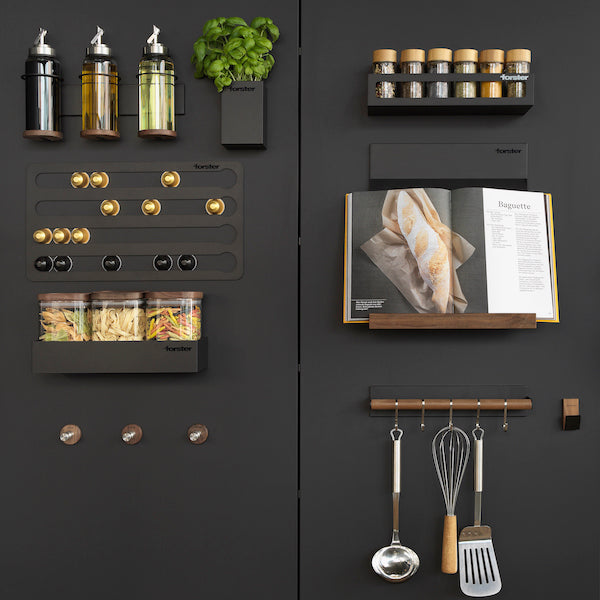

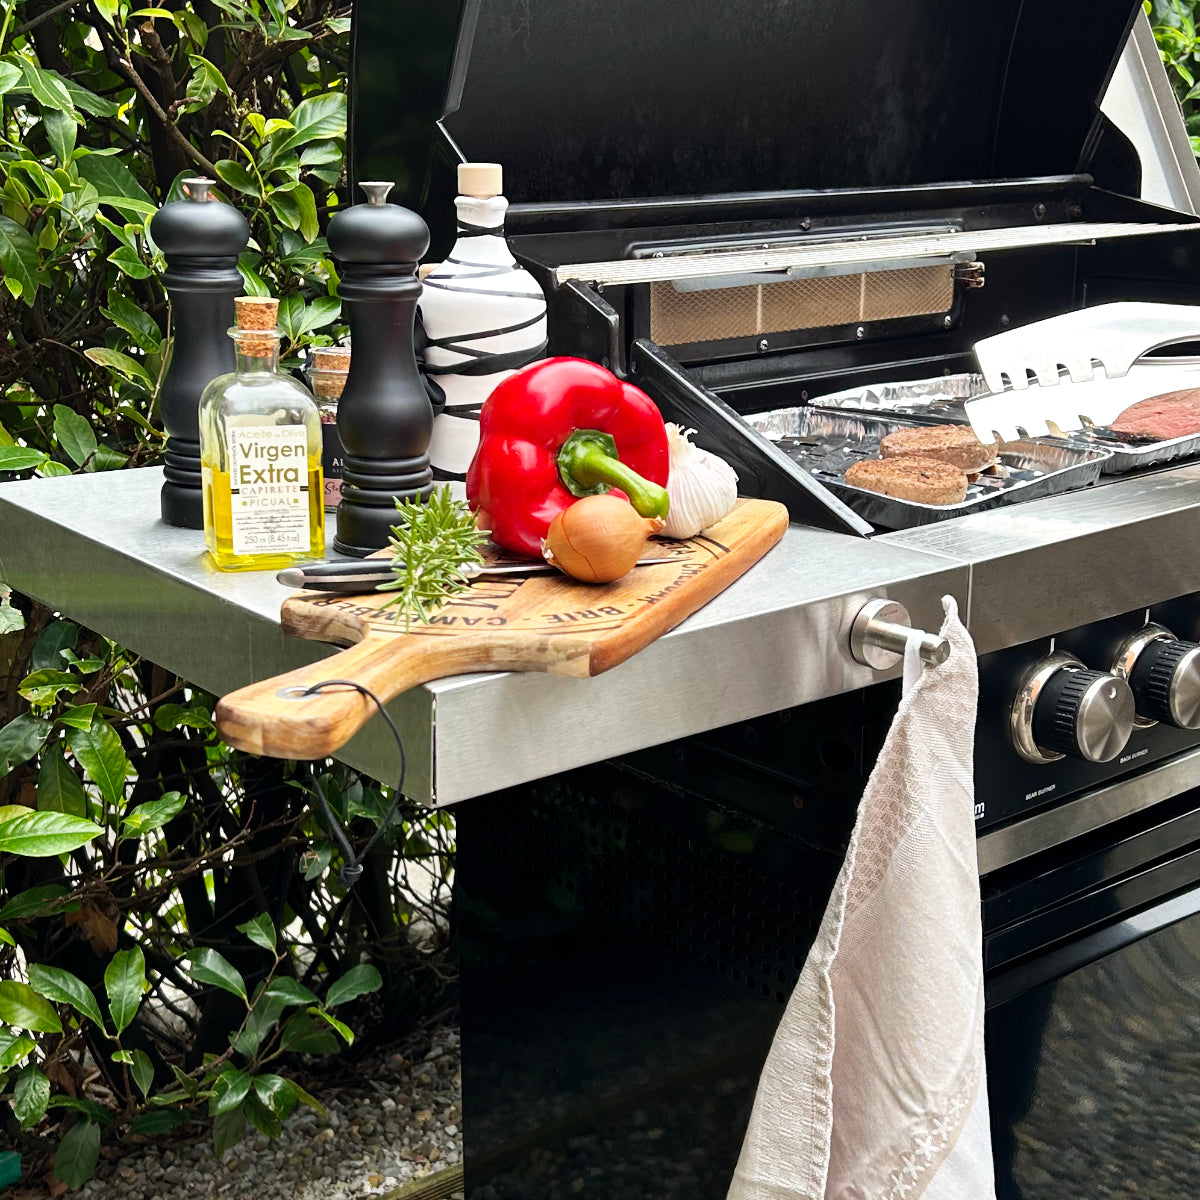

Thanks to the integrated, extra-strong quality magnets, our products adhere securely to all suitable ferromagnetic surfaces (steel, metal, etc.) without any additional tools
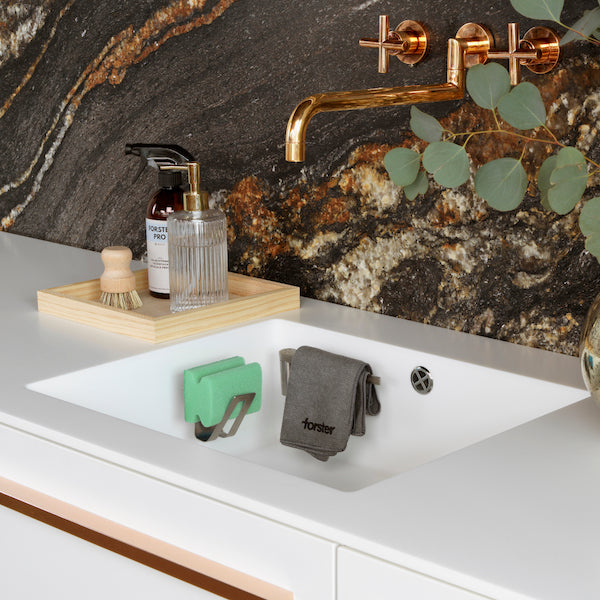
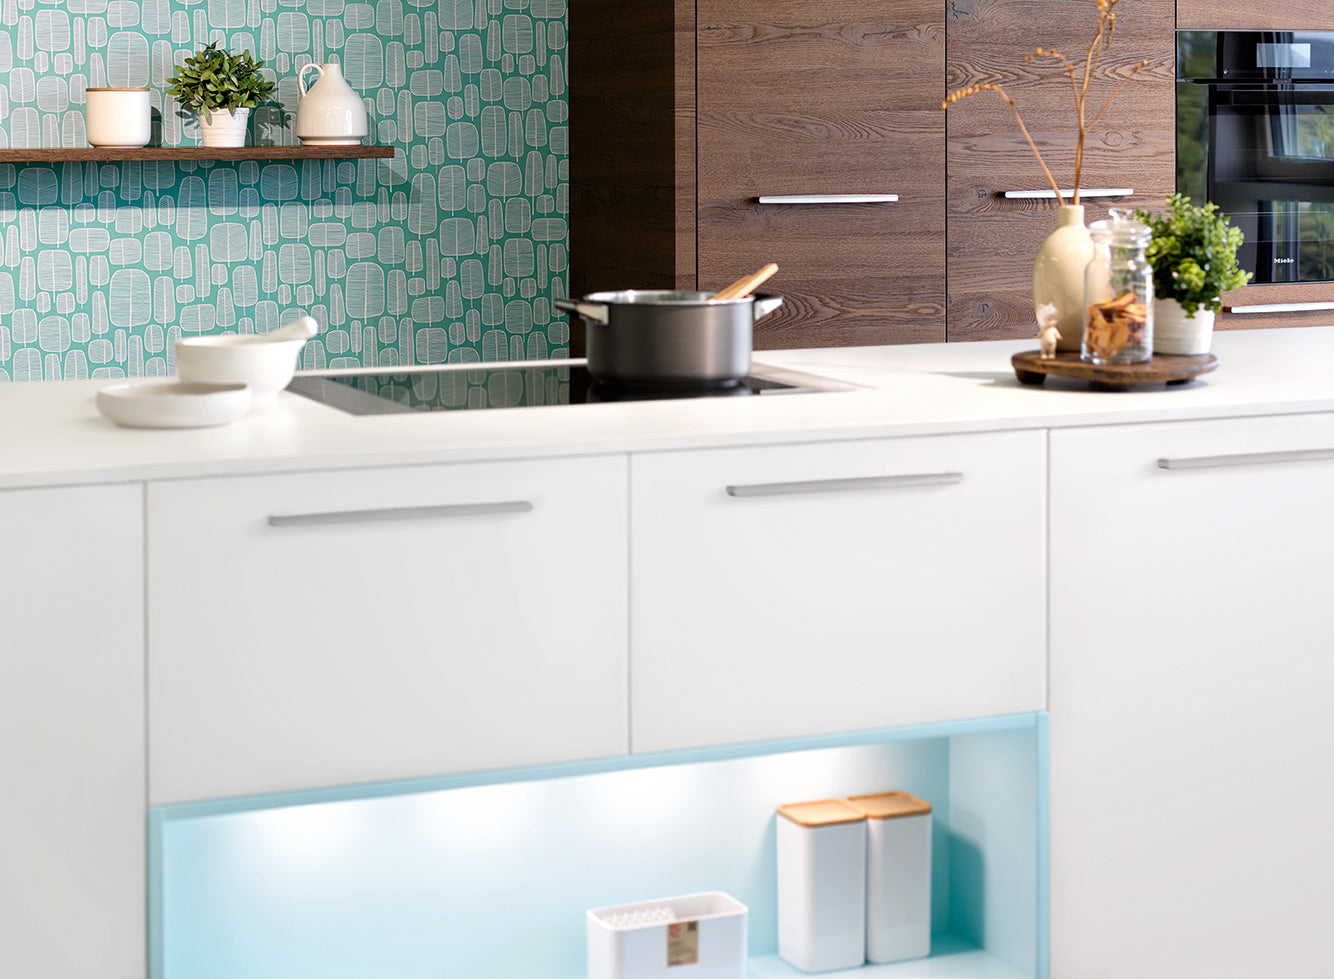
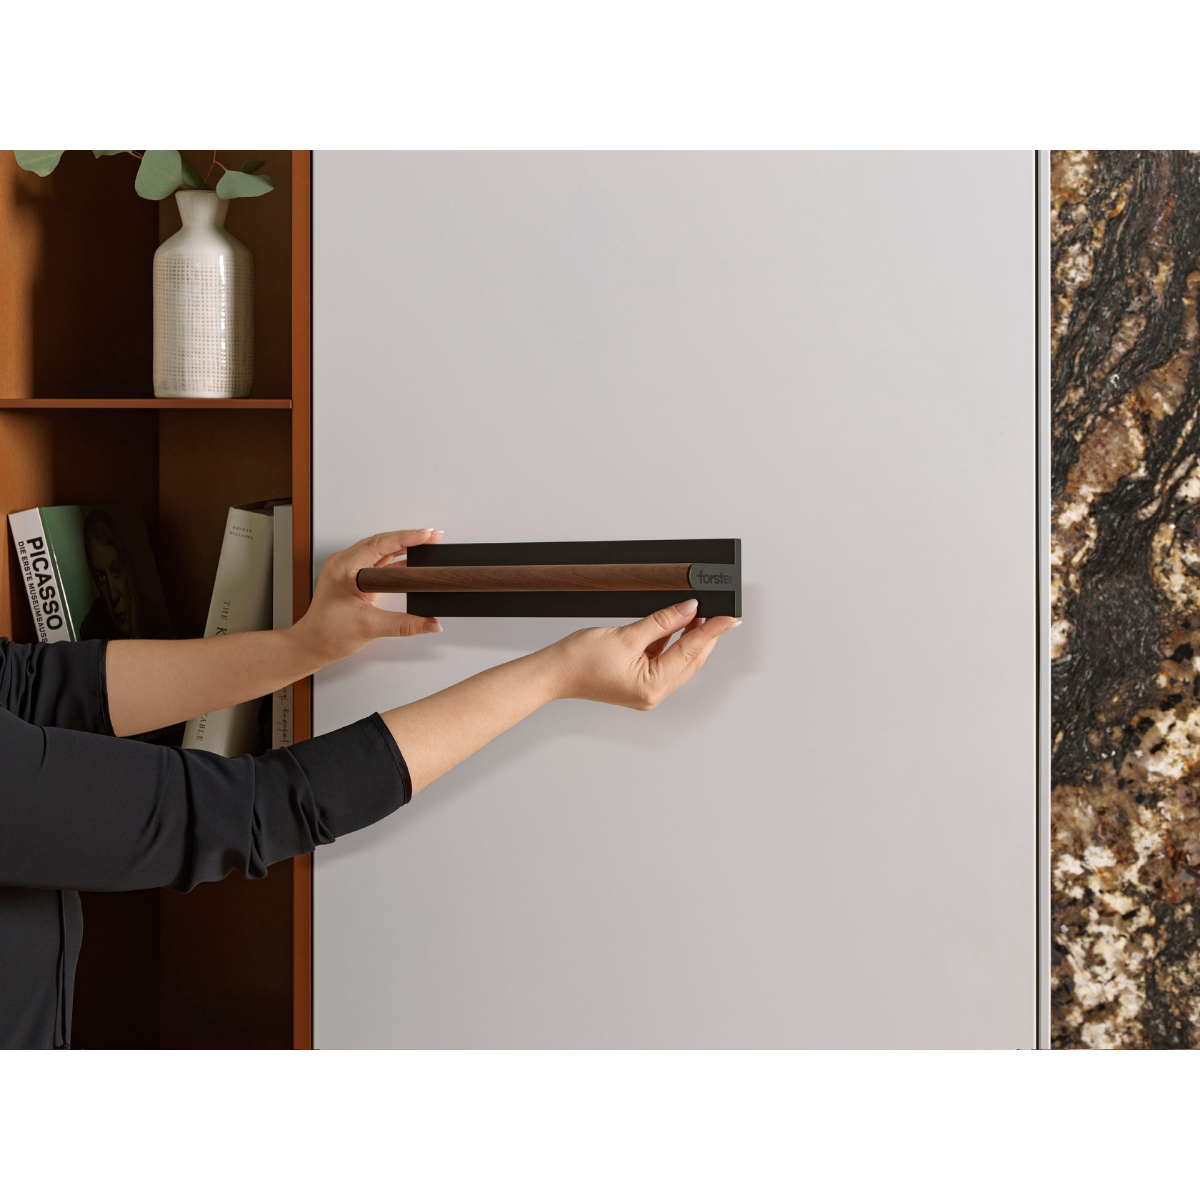
Our self-adhesive magnetic bar can be attached to stone, tiles, glass and wood surfaces without any drilling and then serves as a "base" on which our accessories and hooks can be attached magnetically
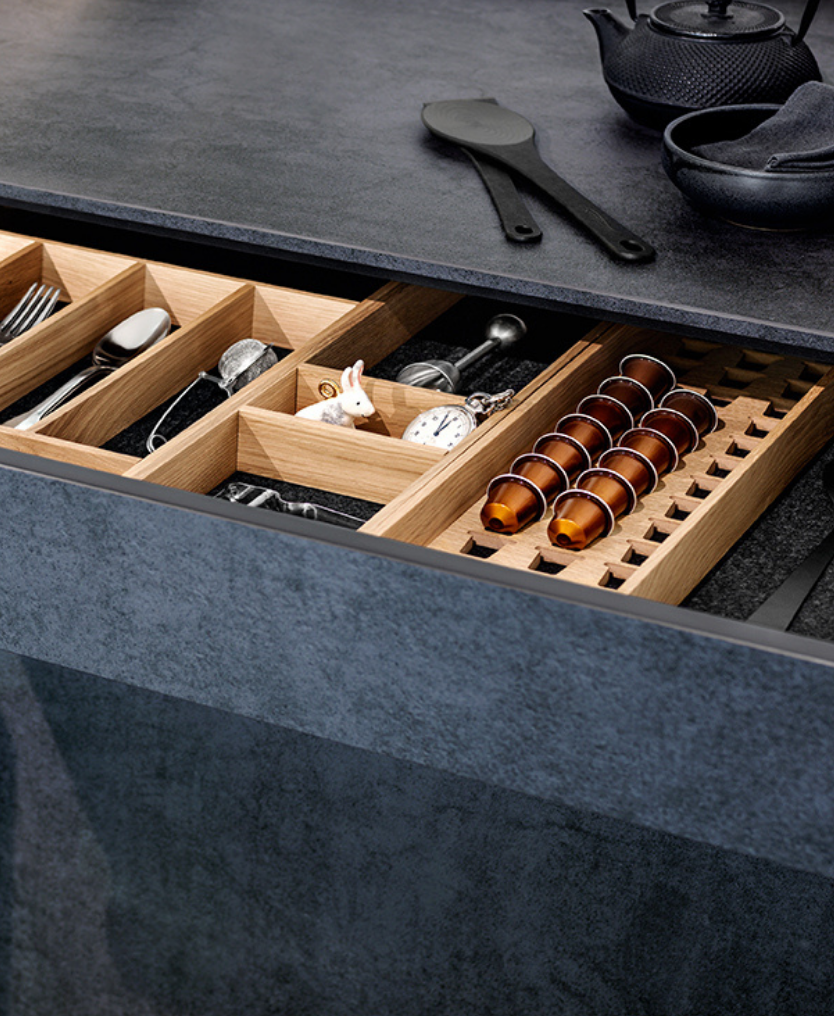
With the screws and dowels included in the scope of delivery, the products can be screwed onto any suitable surface as usual